


I was exchanging some tokens on Muesli Swap a fortnight ago (as at the time this guide was being drafted), and I couldn’t help but admire Nami Wallet’s simple build and intuitive user interface for the umpteenth time.
Having tested six different wallets to store my Cardano assets, I dare pick out Nami as one of the best wallet service providers on Cardano.
If you love a simple wallet build, a great user interface, and secure “hot storage” of your Cardano native assets and would love to get onboarded into the Nami wallet train, I made this simple guide for you.
But a little introduction before we go right into the meat of our guide.
What is the Nami Wallet?
Nami is a non-custodial wallet extension that connects with dApps, sends, stores, and delegates $ADA and other Cardano-based assets.
Nami Wallet was created in 2021 by Alexandro Konrad after he became frustrated trying to create dApp interactions on Cardano at the time. The wallet platform has recorded many significant milestones since then, the latest of which is its acquisition by the IOG team.
A Step-by-step Guide for Setting up your Nami Wallet
1. Getting started with the Nami wallet
- Get the Nami extension wallet by navigating to namiwallet.io.
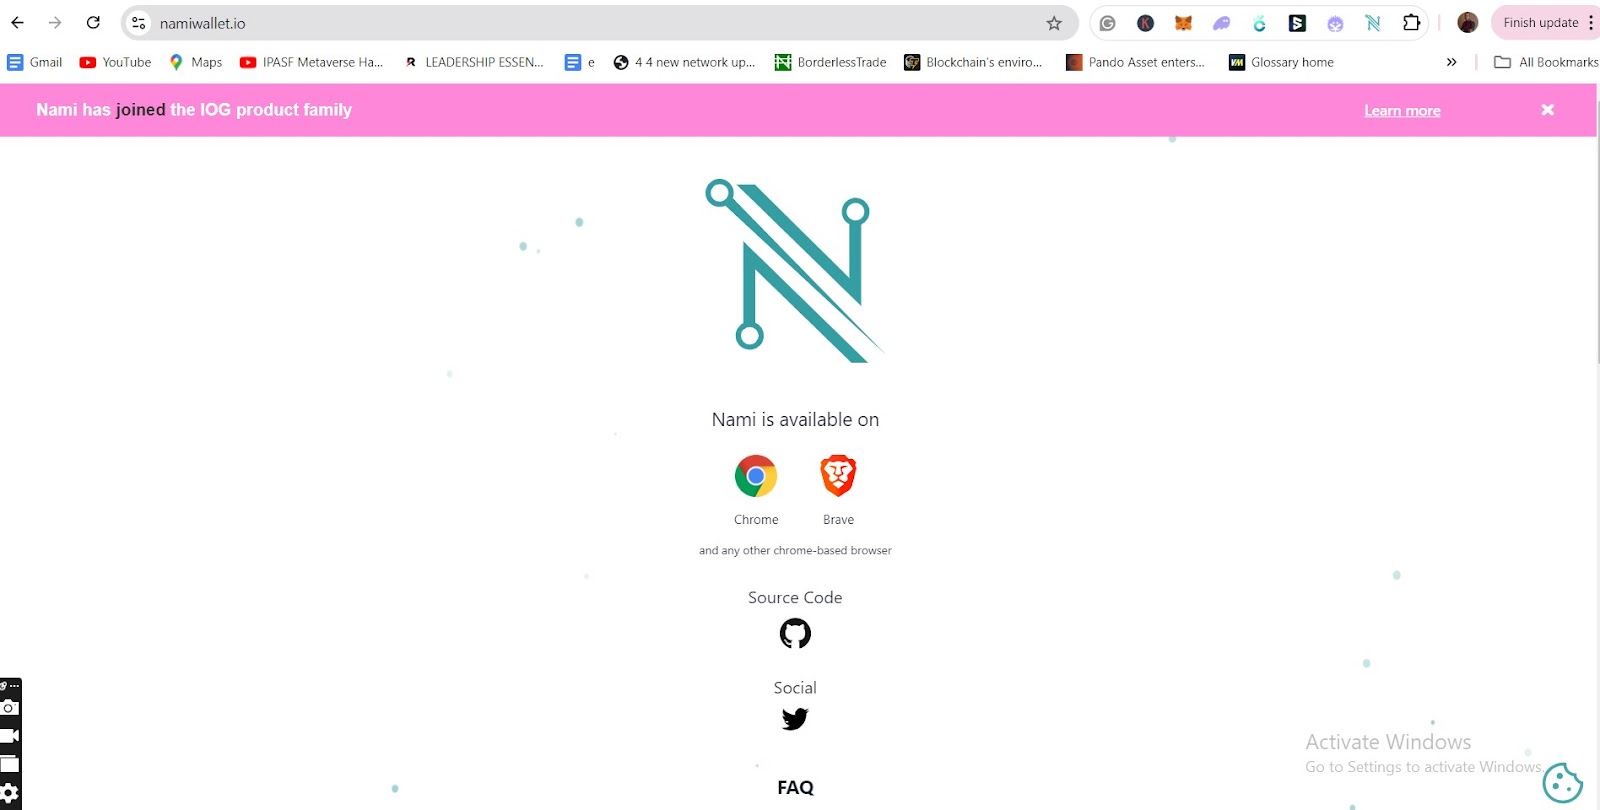
- You can install the Nami Wallet extension on any supported browser. Currently, the extension is only available on Google Chrome and Brave browsers.
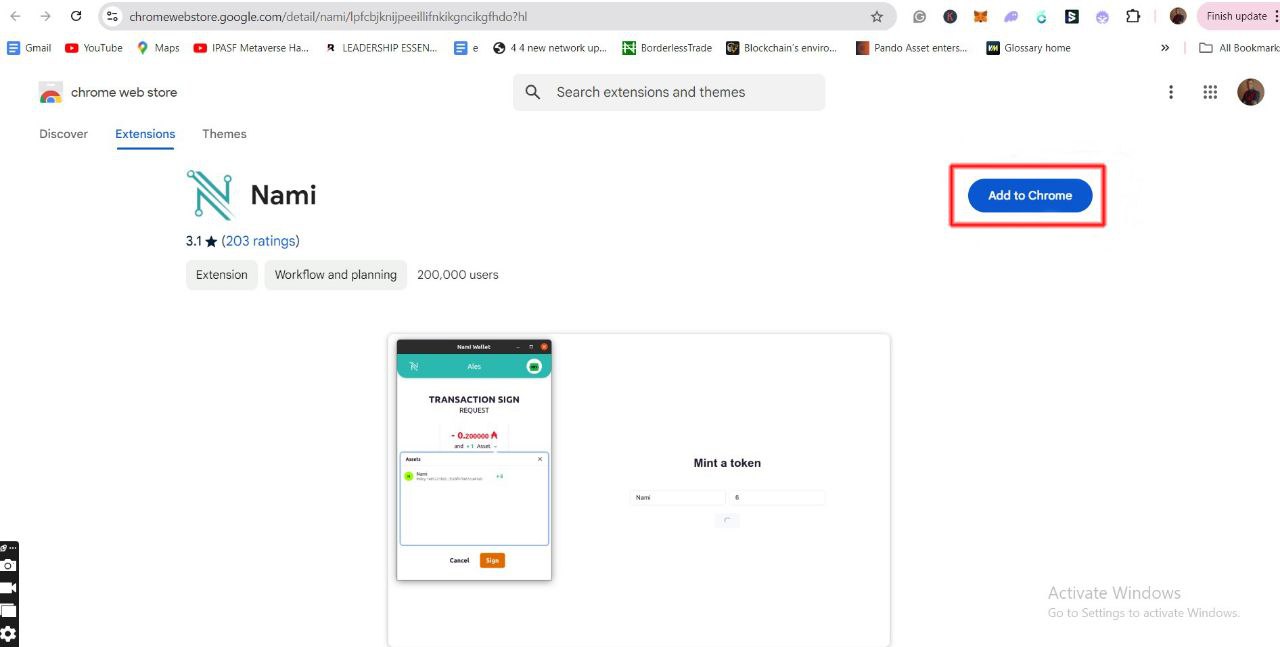
- If you are like me and will be using Google Chrome, select the Chrome icon and then click ‘Add to Chrome.’ The extension will be downloaded and added to your list of Chrome extensions.
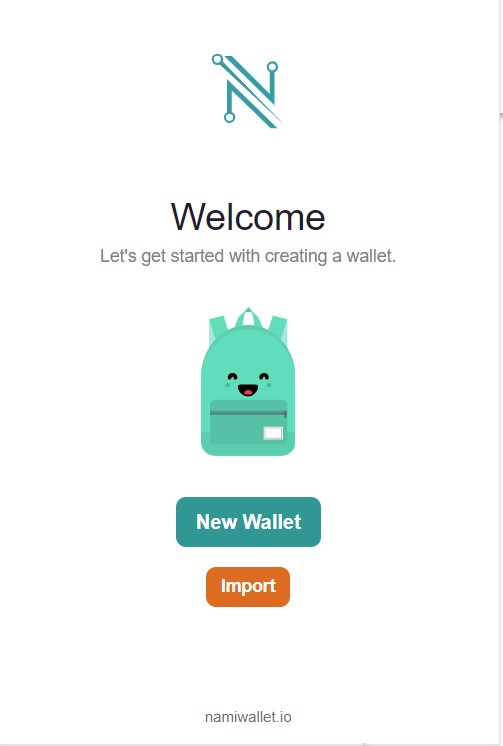
2. Setting up your Nami wallet
- Click on ‘ New Wallet,’ accept the term of use, and proceed to securely store your 24-word seed phrase. You can also import an existing wallet using your 24-word seed phrase, account name, and password.
- Enter your account name and password. Then, our wallet has been successfully created, and our extension will be usable.
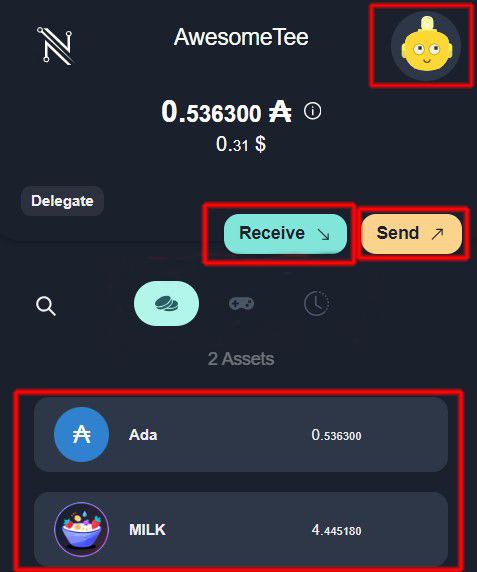
- Open the Nami extension. You can see your account name, token balance, and the receive and send options.
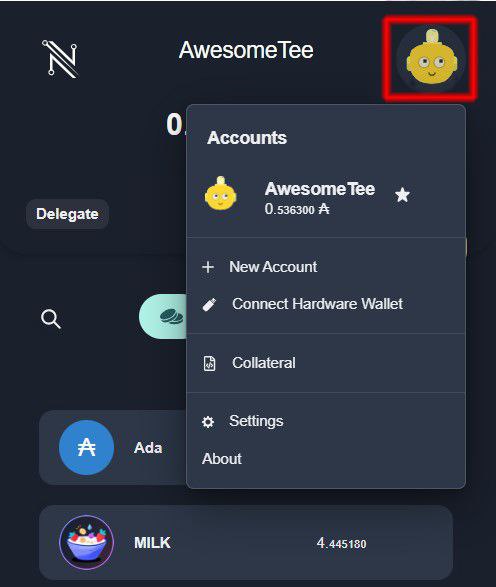
3. Exploring your newly created Nami wallet
- Click on the account option. Here, you can create more than one Nami wallet or connect your hardware wallet, add ADA collaterals separate from your asset balance to carry out transactions, and then navigate to the settings and about page.
4. Sending and receiving Cardano assets with Nami
- If you want to receive funds with your Nami wallet, click the receive option. Then, you must scan the wallet’s Q.R. code from where you will accept your funds.
- To send funds, click the send option, enter the recipient wallet address, and send the amount you want. Remember that Nami is a native Cardano wallet, so you can only deal with Cardano assets.
- You can connect your wallet to any supported Cardano marketplaces, such as the Cardano NFT platform JPG.store, or any supported decentralized exchanges on Cardano, like the Muesliswap DEX.
- You can toggle between viewing your fungible assets and your collectibles or nonfungible assets.
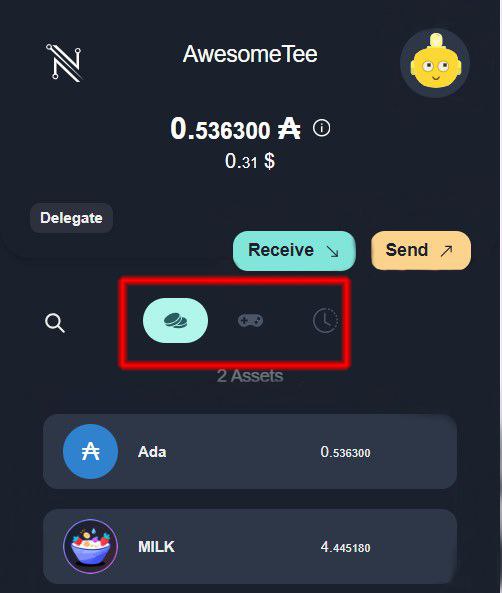
- Then there is your history, the transaction history, the order history,
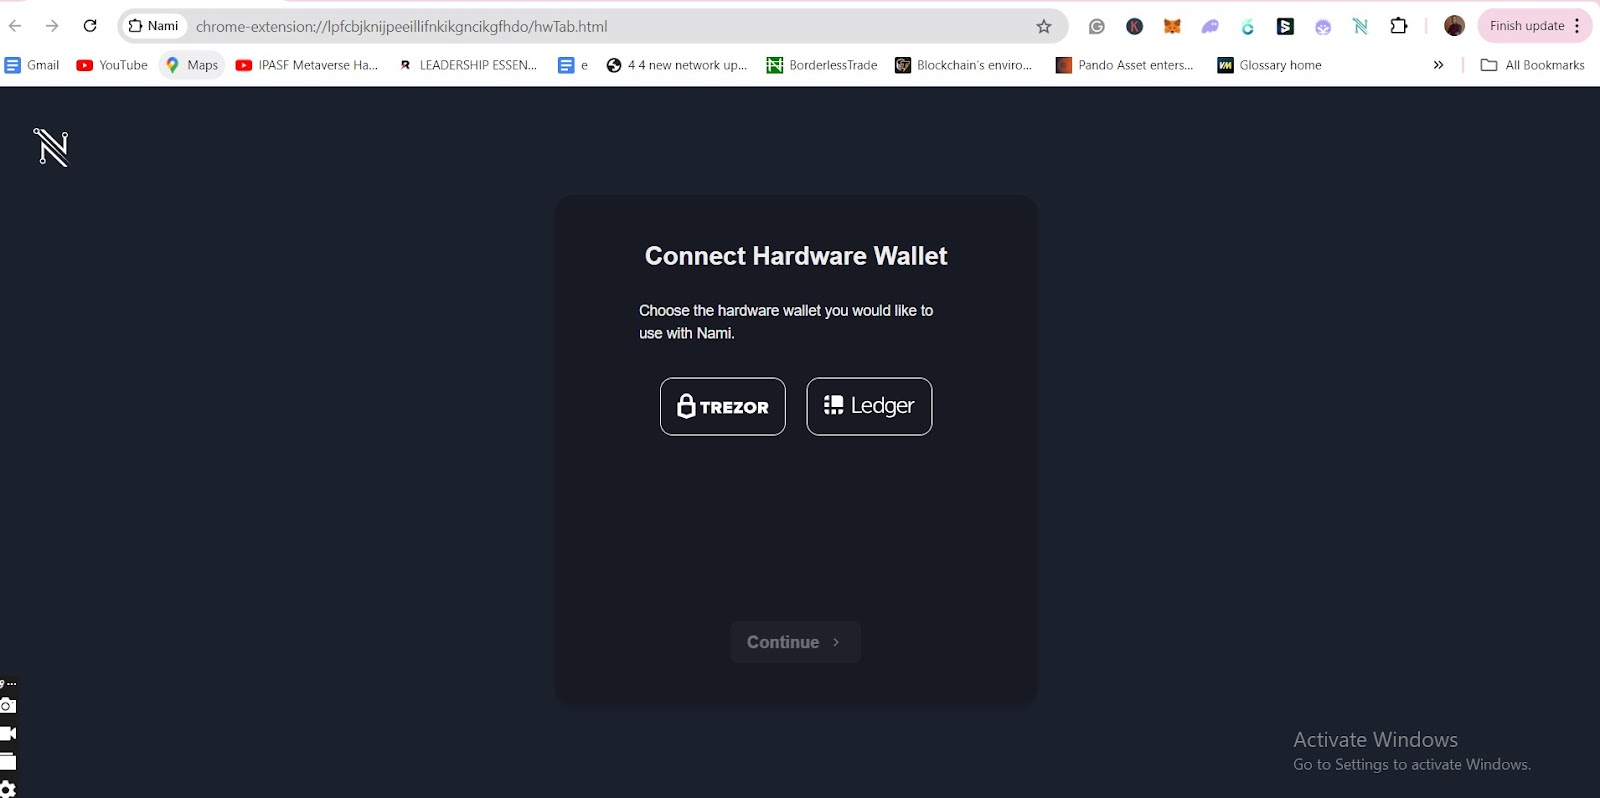
5. Connecting your hardware wallet to Nami
If you want to connect the Hardware wallet, click on Connect. It will open the option to connect with your Trezor hardware wallet or Ledger with your Nami.
6. Delegating your cardano assets to a stake pool
On Cardano, you delegate the block production rights associated with your stake rather than the ADA itself. This way, your ADA never leaves your wallet, it’s never locked, and the stake pool operator (the expert users) mints block on your behalf.
This allows you to select a stake pool that works best for you without worrying about the security of your digital assets. At the end of your delegation cycle, your staking rewards are automatically distributed to your wallet. Learn more about delegation and staking of your Cardano assets here.
7. Navigating your wallet settings
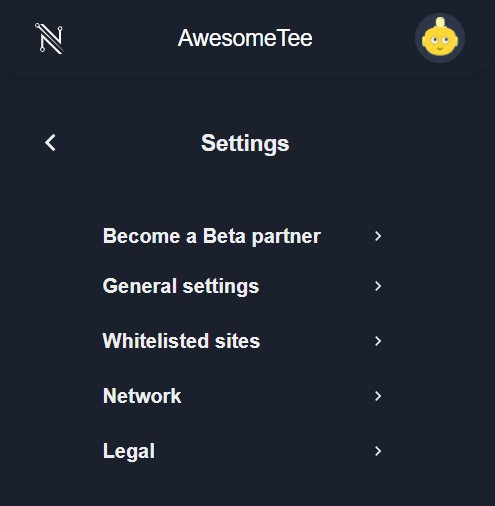
- Click on the settings icon from the user account icon to open your settings. In general settings, you can switch to denominate your asset currency between USD and Euro and reset your wallet if you want to.
- The ‘Network’ icon also allows you to navigate the different supported Cardano networks on Nami. Currently, there are three network types: the Cardano Mainnet, Preview, and Prepod.
- The main network on Nami is the Cardano, but you can also add others. Enter the local R.P.C. or the host link right here to add a new network to your Nami wallet.
- Then, you have a site that connects your Nami wallet directly to a website that deals in ‘Cardano’ assets for payment or other utilities.
So there you have it, guys, as promised, a simple guide to setting up and using your Nami wallet.